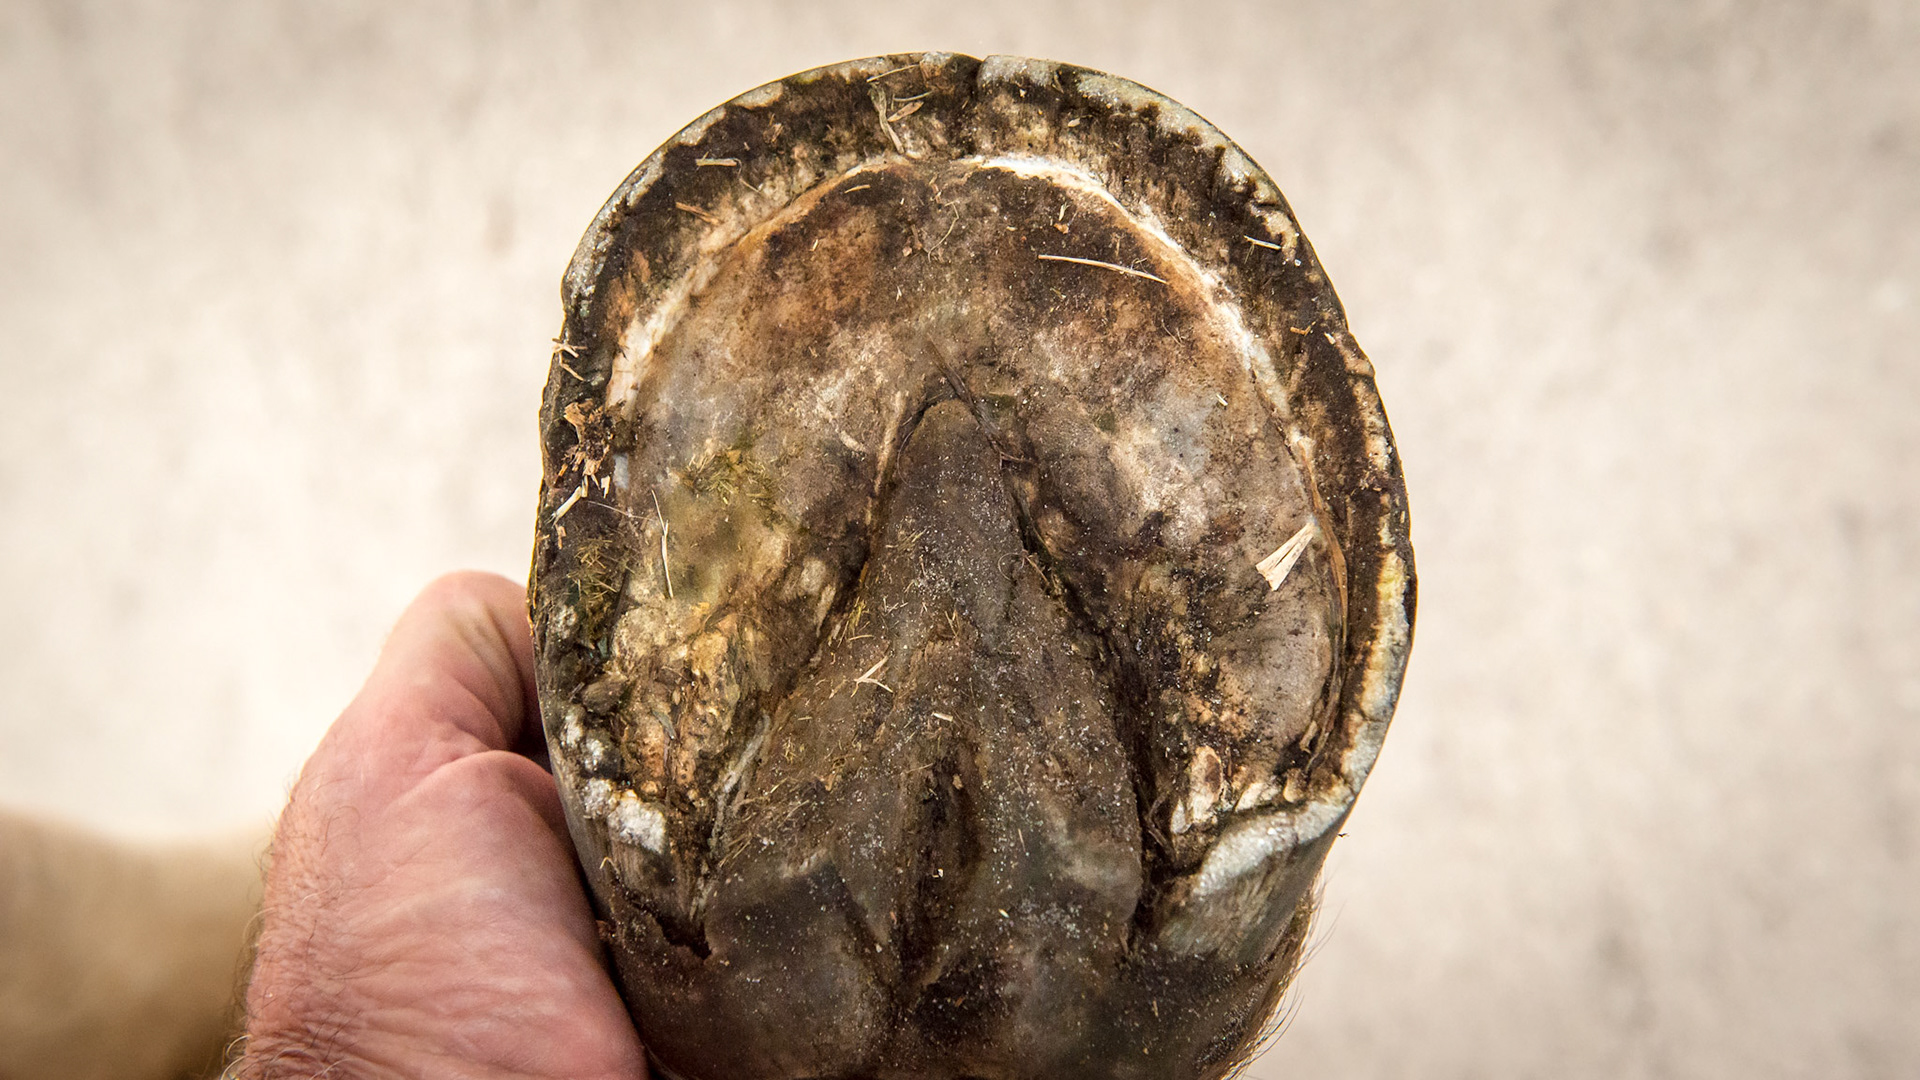
Horse B - the RLF clearly showing the more worn and broken wall of the inside of this hoof (on the left side of this image). Dividing the hoof with a line through the frog from the toe to the heel, the medial side (on the left) is more narrow than lateral side. The medial heel has worn more than the lateral heel but both show how they are coming under the hoof. The frog is twisted in shape indicating that there is also a rotational deviation when this limb lands on the ground.
Horse B - the RF clearly showing the more worn and broken wall of the inside of this hoof. Dividing the hoof with a line through the frog from the toe to the heel, the medial side (on the right) is more narrow than lateral side. The frog does not look shrunken and the heels are not contracted but the medial sulcus is more narrow than the lateral and therefore is more prone to packing and not clearing the material.
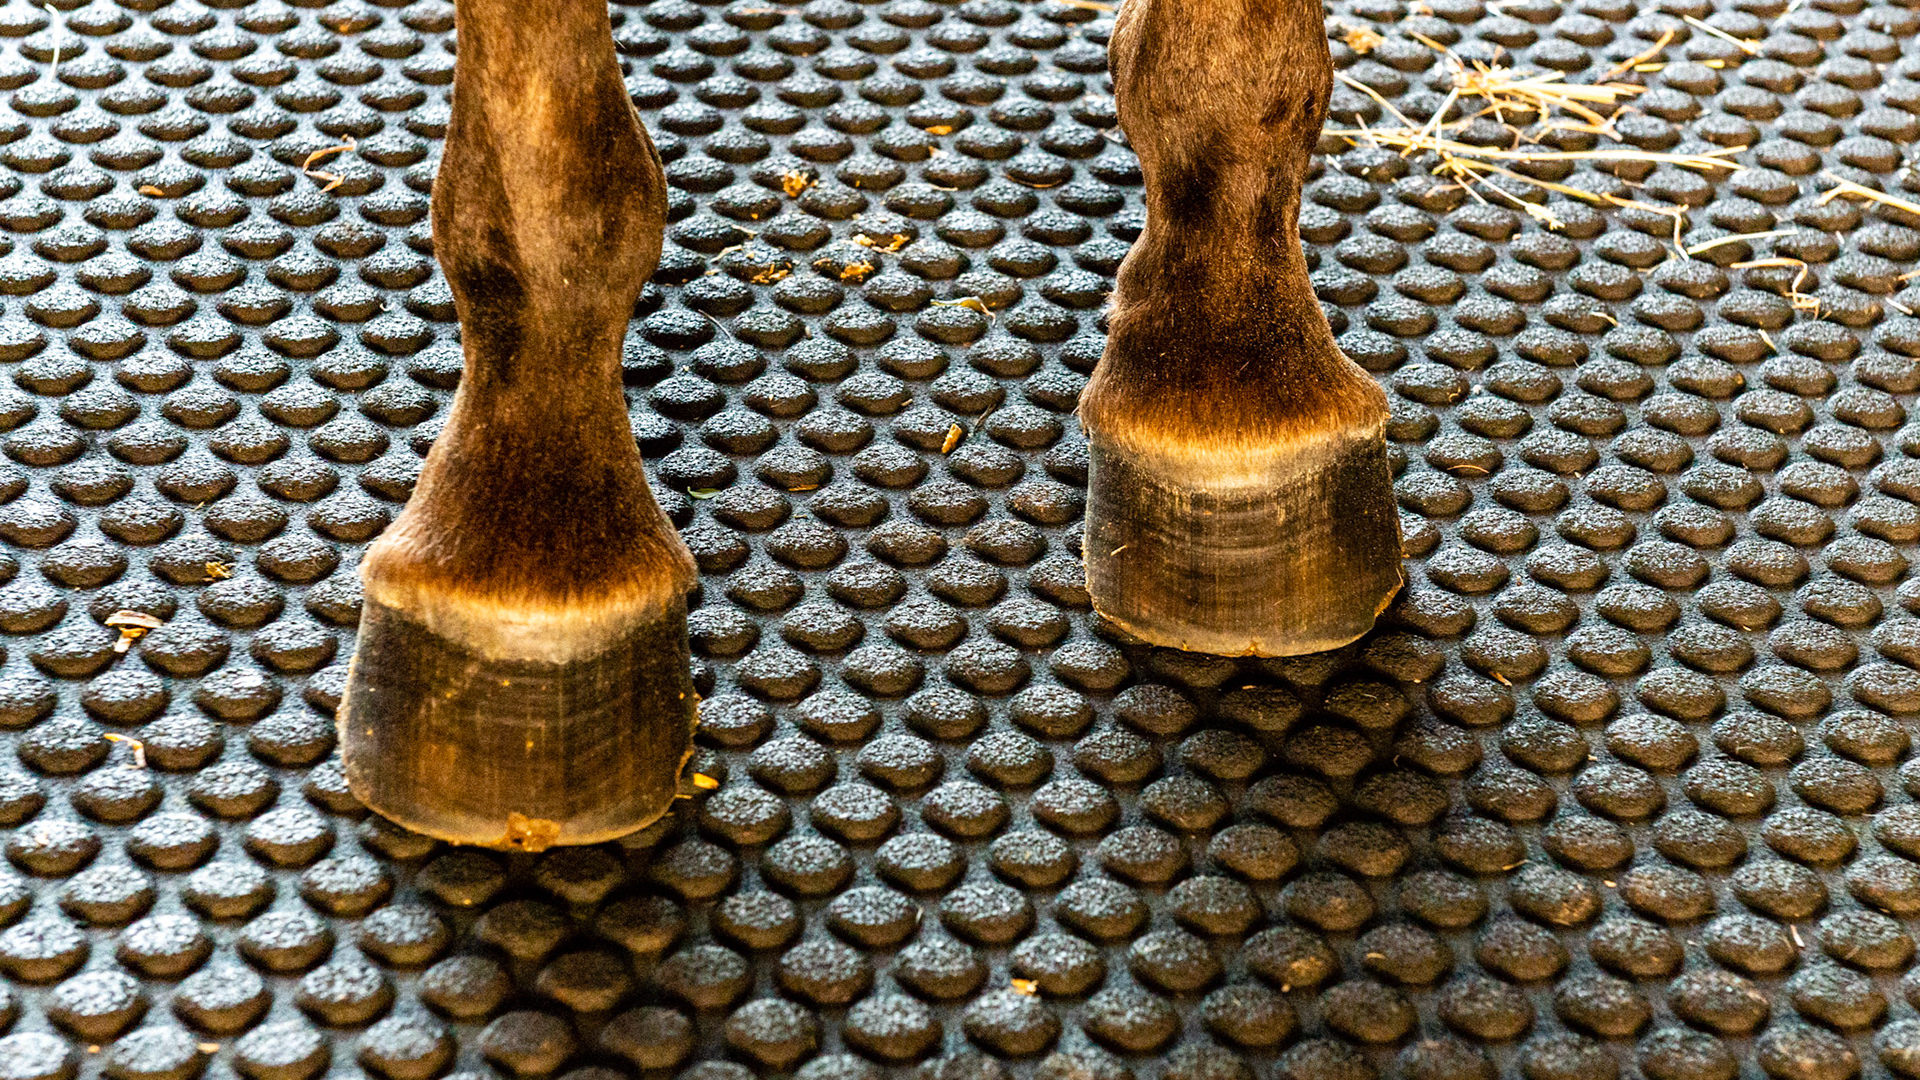
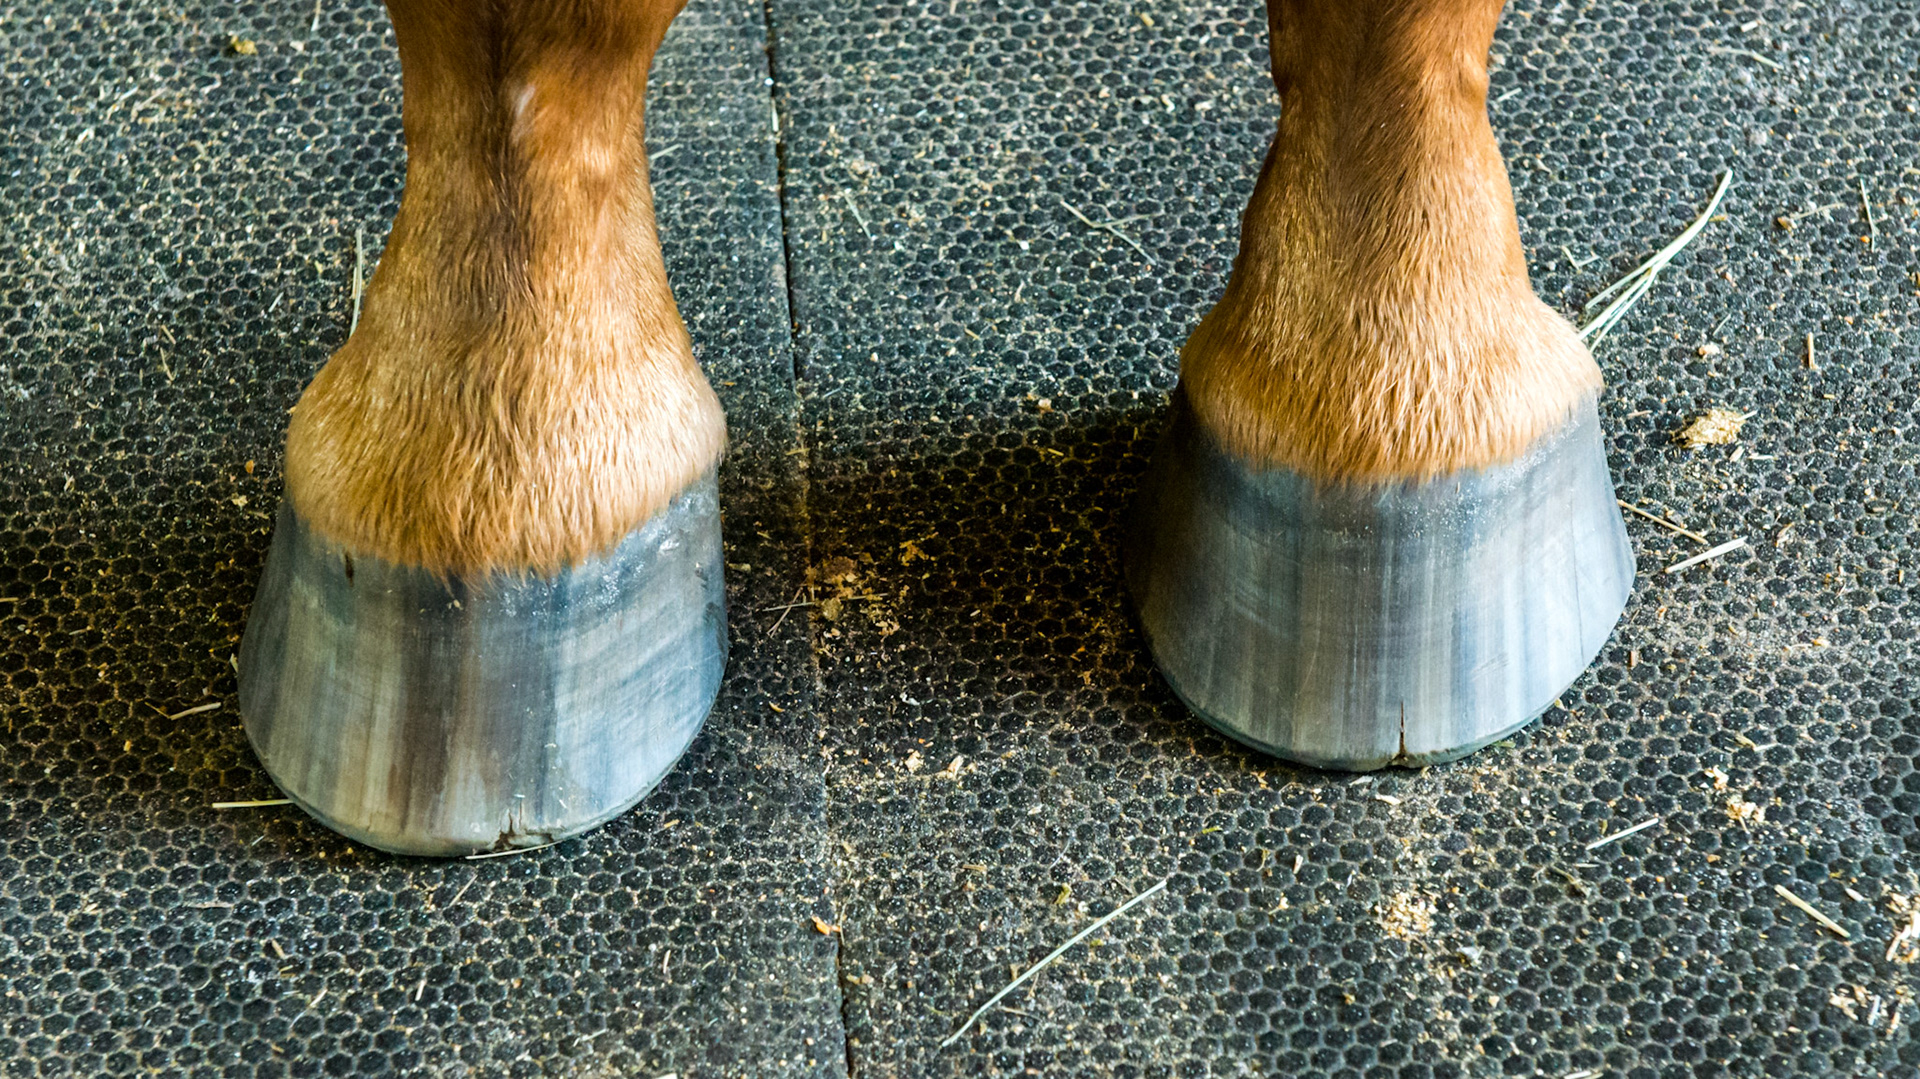
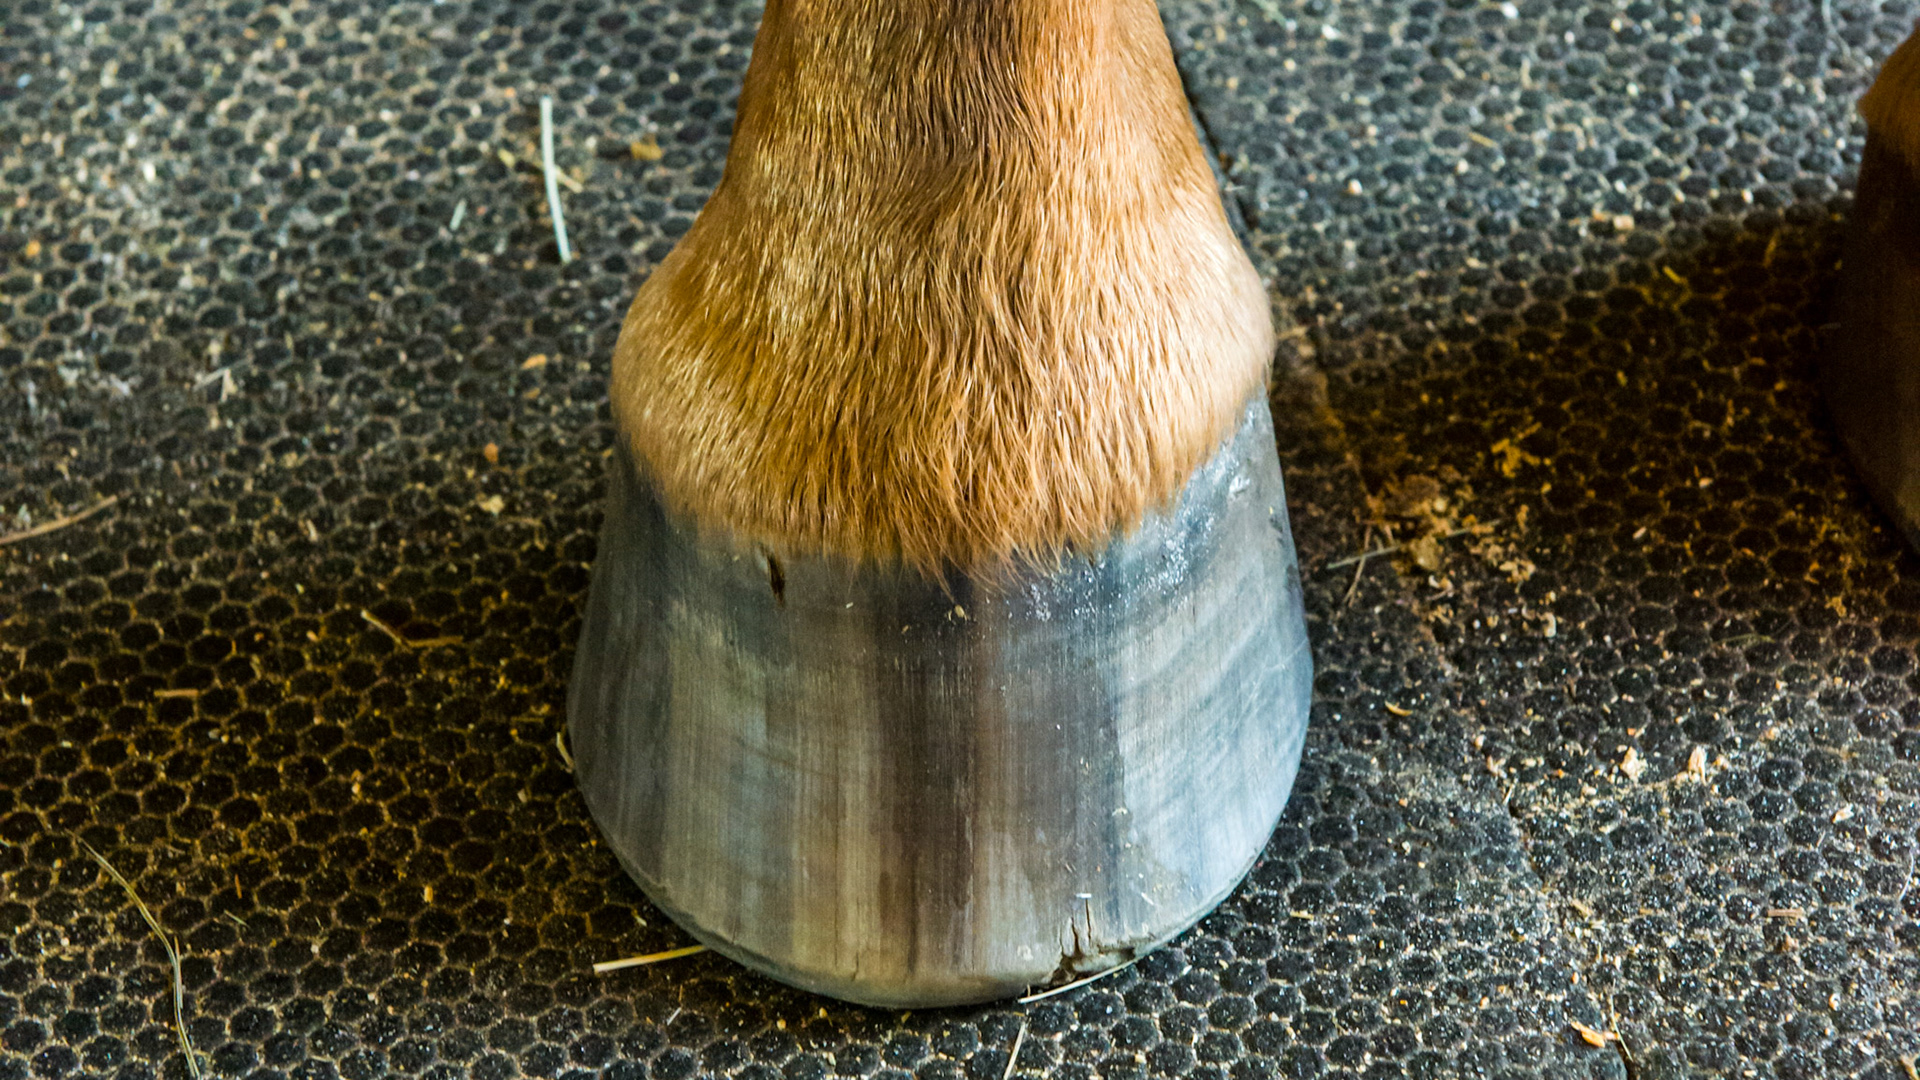
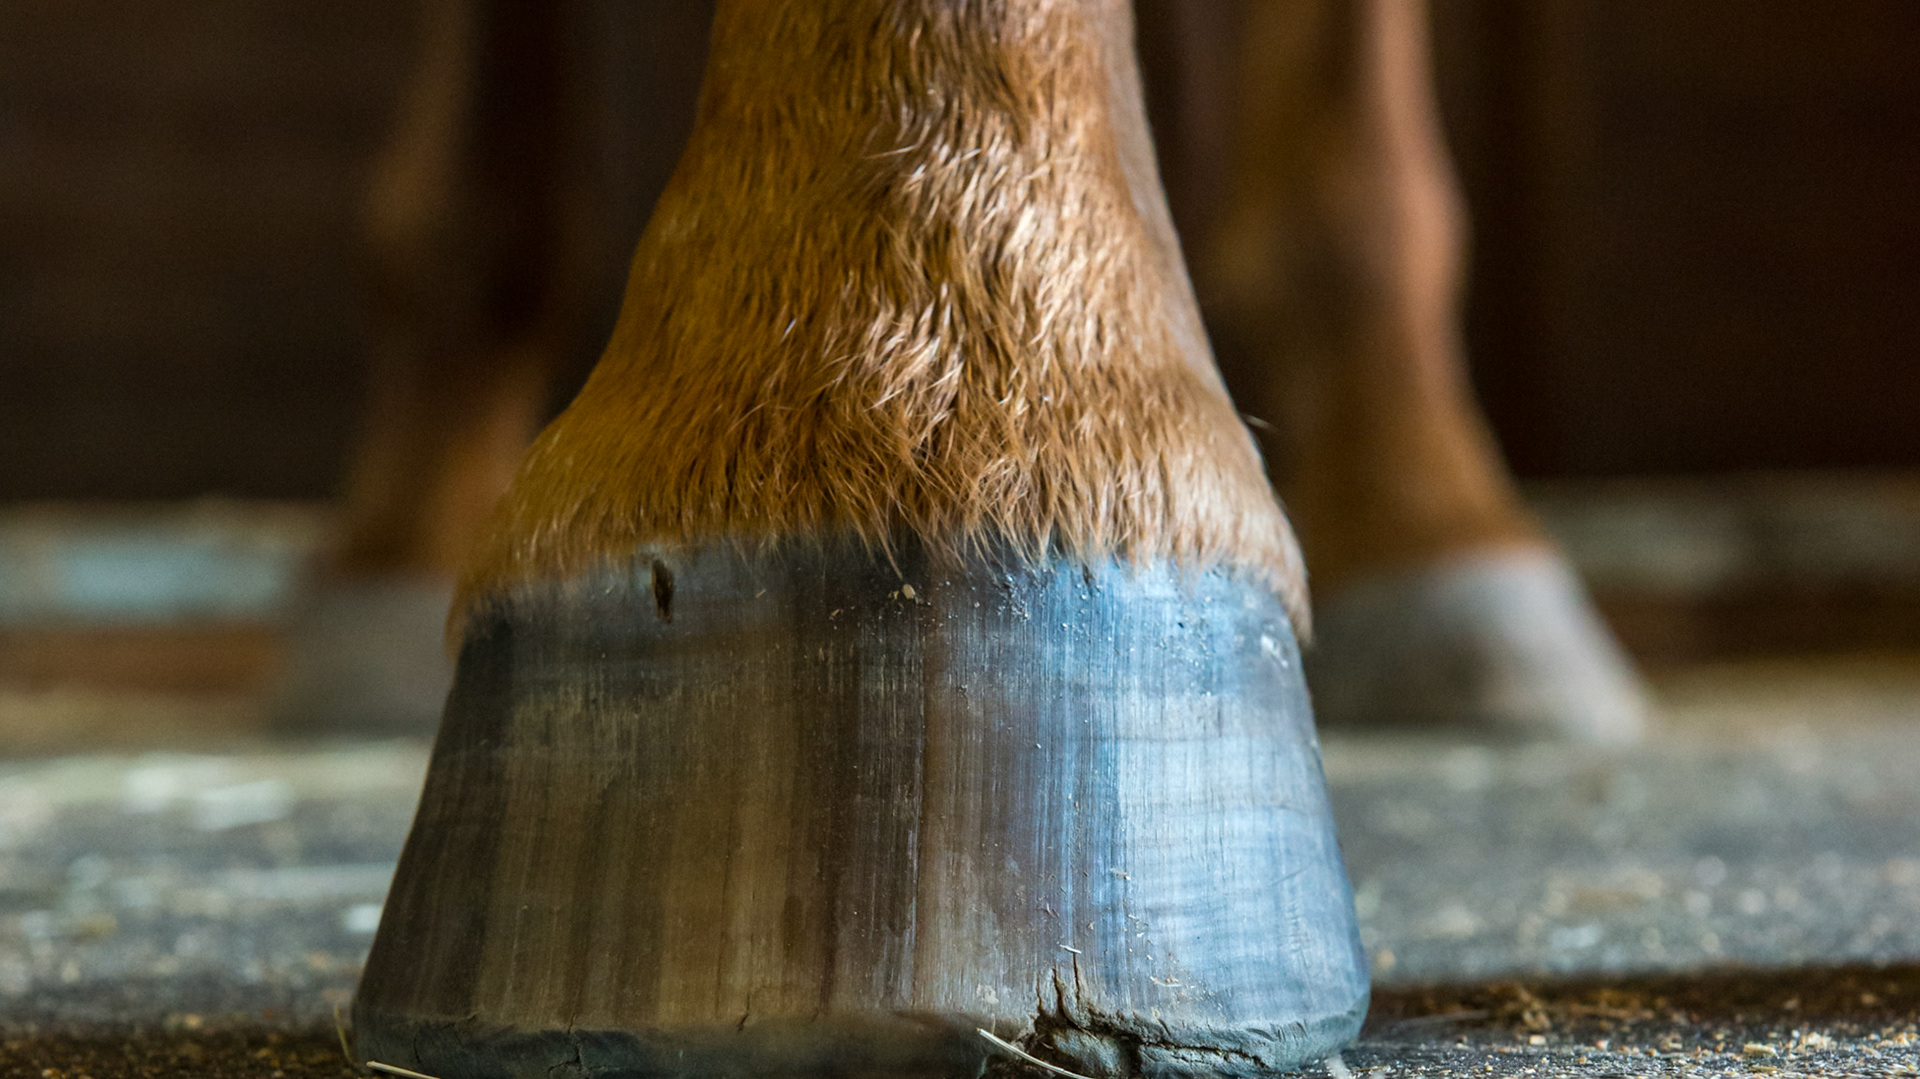
Horse B - This horse has a more vertical wall on the inside of the hoof while the outside is further away from vertical. This indicated that the horse is landing on the inside of the hooves which will cause an asymmetry in the shape of the hoof and will lead to unsoundness including caudal heel pain and medial splint formation.
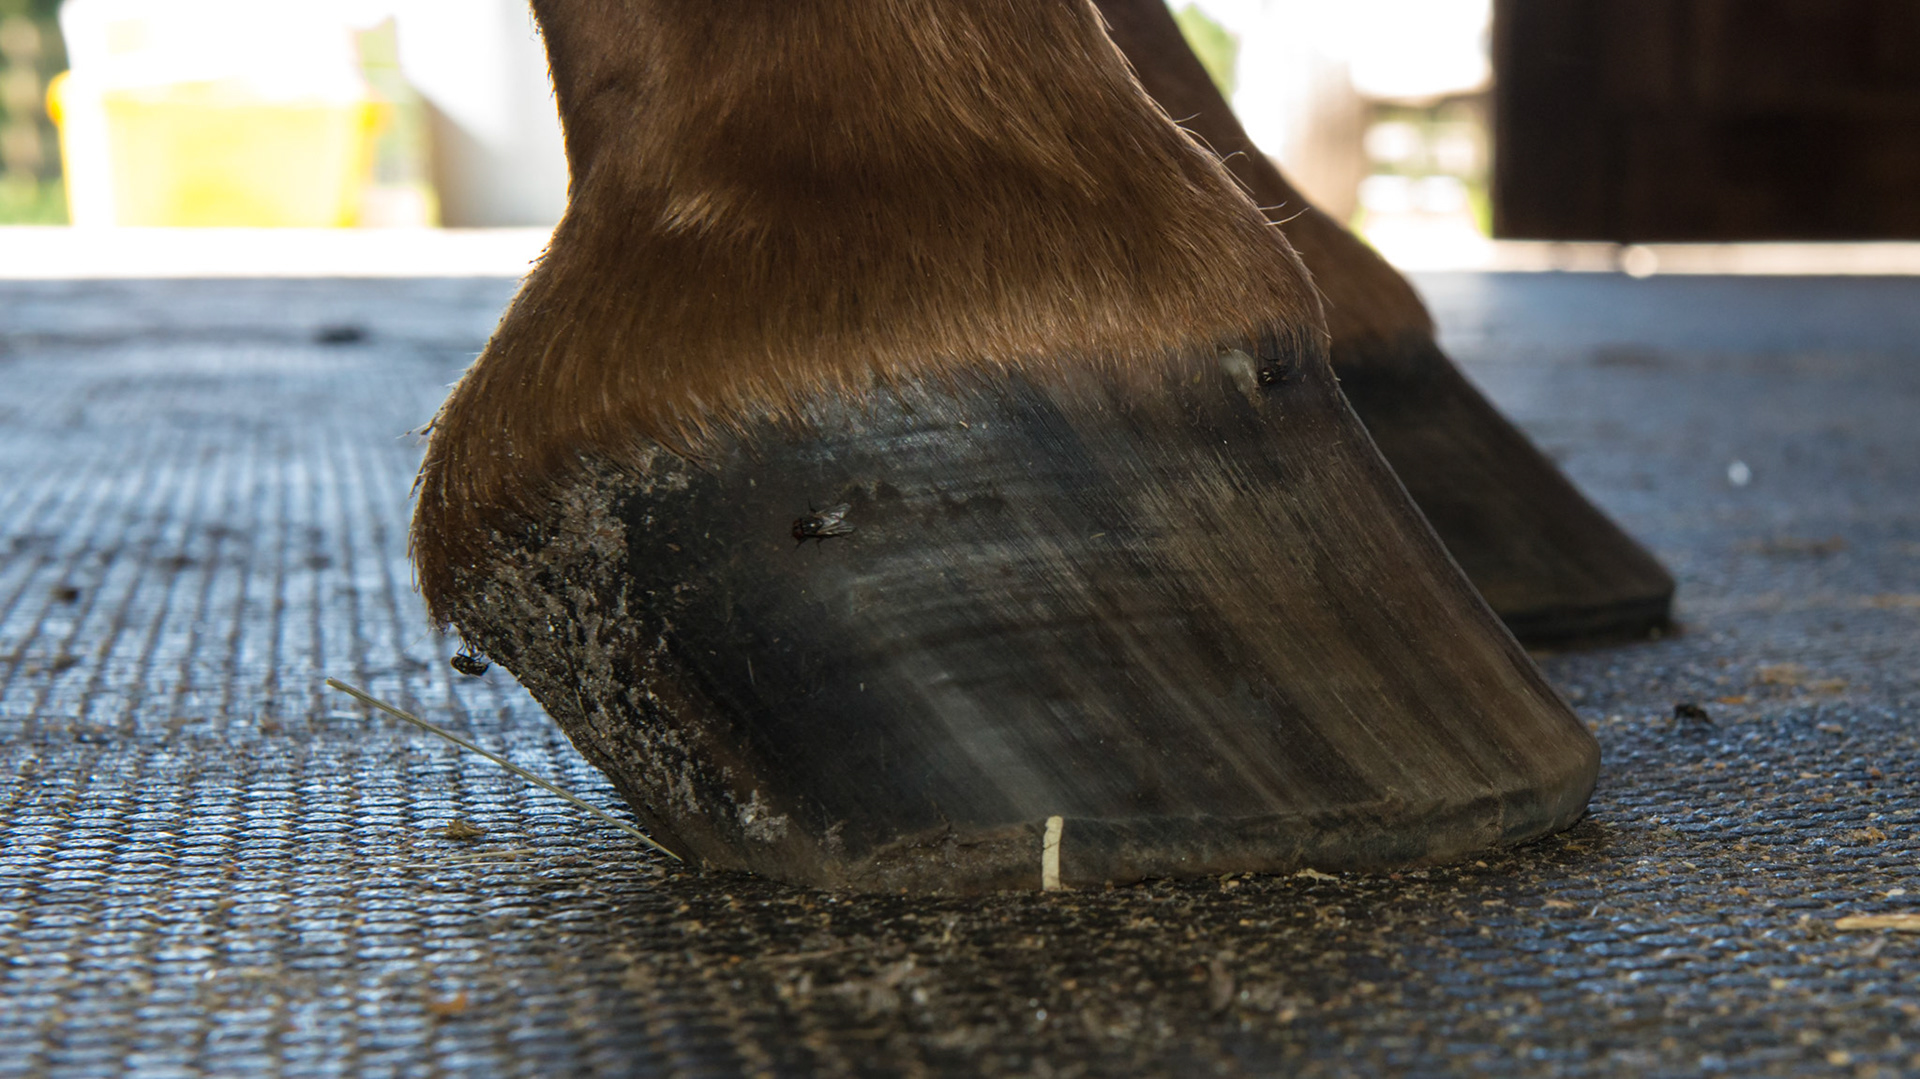
Horse A - has asymmetric hooves with multiple issues although not seen in every image. Here there are toe cracks and flared hoof walls. You can also see the break over point by the ware spots at the toes near the cracks.
Horse A - has asymmetric hooves with multiple issues although not seen in every image. Here there are toe cracks and flared hoof walls. You can also see the break over point by the ware spots at the toes near the cracks. The RF hoof.
Horse A - has asymmetric hooves with multiple issues although not seen in every image. Here there are toe cracks and flared hoof walls. You can also see the break over point by the ware spots at the toes near the cracks. The RF hoof showing the break over point, cracks occurring at each side of the break over point with the worst on the medial side. Notice the more vertical medial wall while the lateral wall has more of an angle indicating an uneven load being applied to the hoof walls (see vector analysis).
Horse A - has asymmetric hooves with multiple issues although not seen in every image. The LF hoof shows a severely underslung heel with crushed and non-parallel tubules and a curved coronary band. This will lead to caudal heel pain in this hoof. Compare this view with the side view of the opposite hoof.
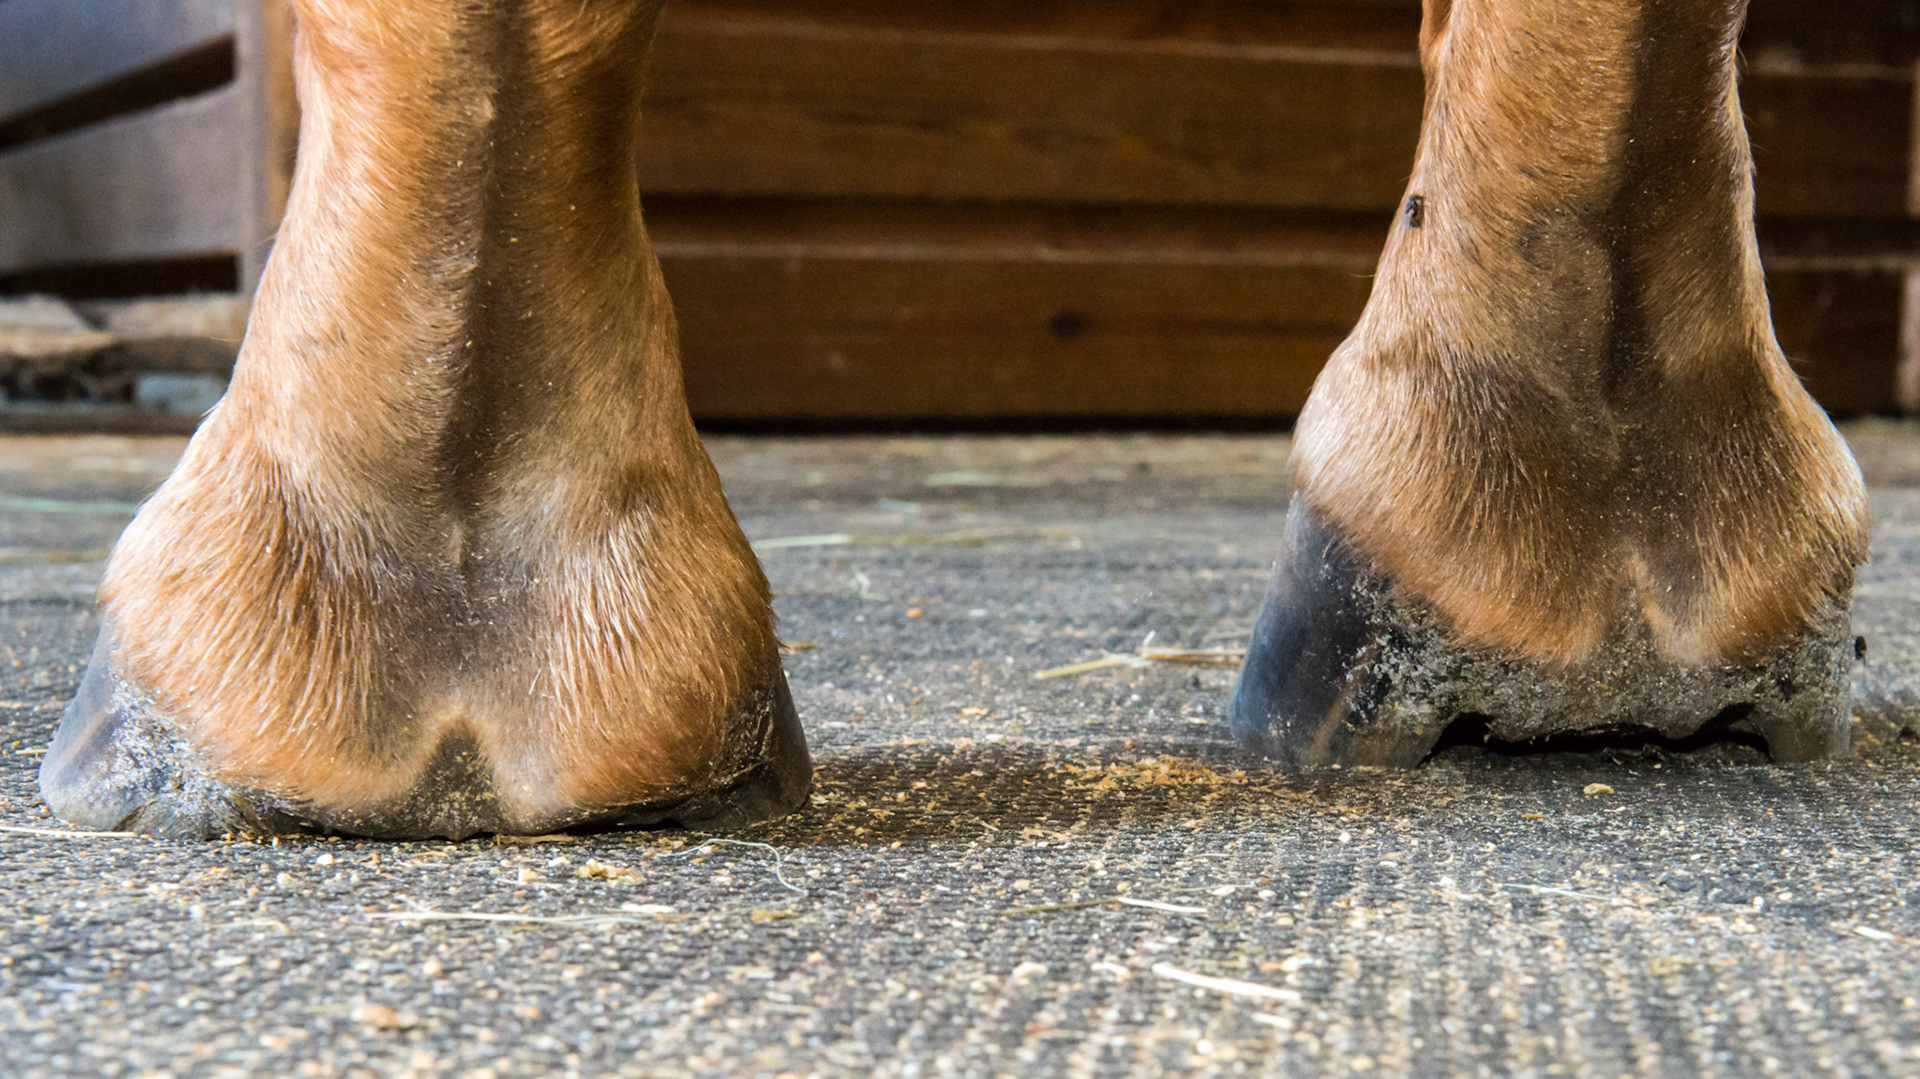
Horse A - has asymmetric hooves with multiple issues although not seen in every image. The heel of the LF appears more normal but remember that on the lateral view there is a severe underslung condition with crushed tubules. The RF has a better looking heel but the frog is not touching the ground. While there is more wall support in the heels this might be an indicator that the horse has heel pain and is avoiding heel pressure which will lead to contracted heels in the future.
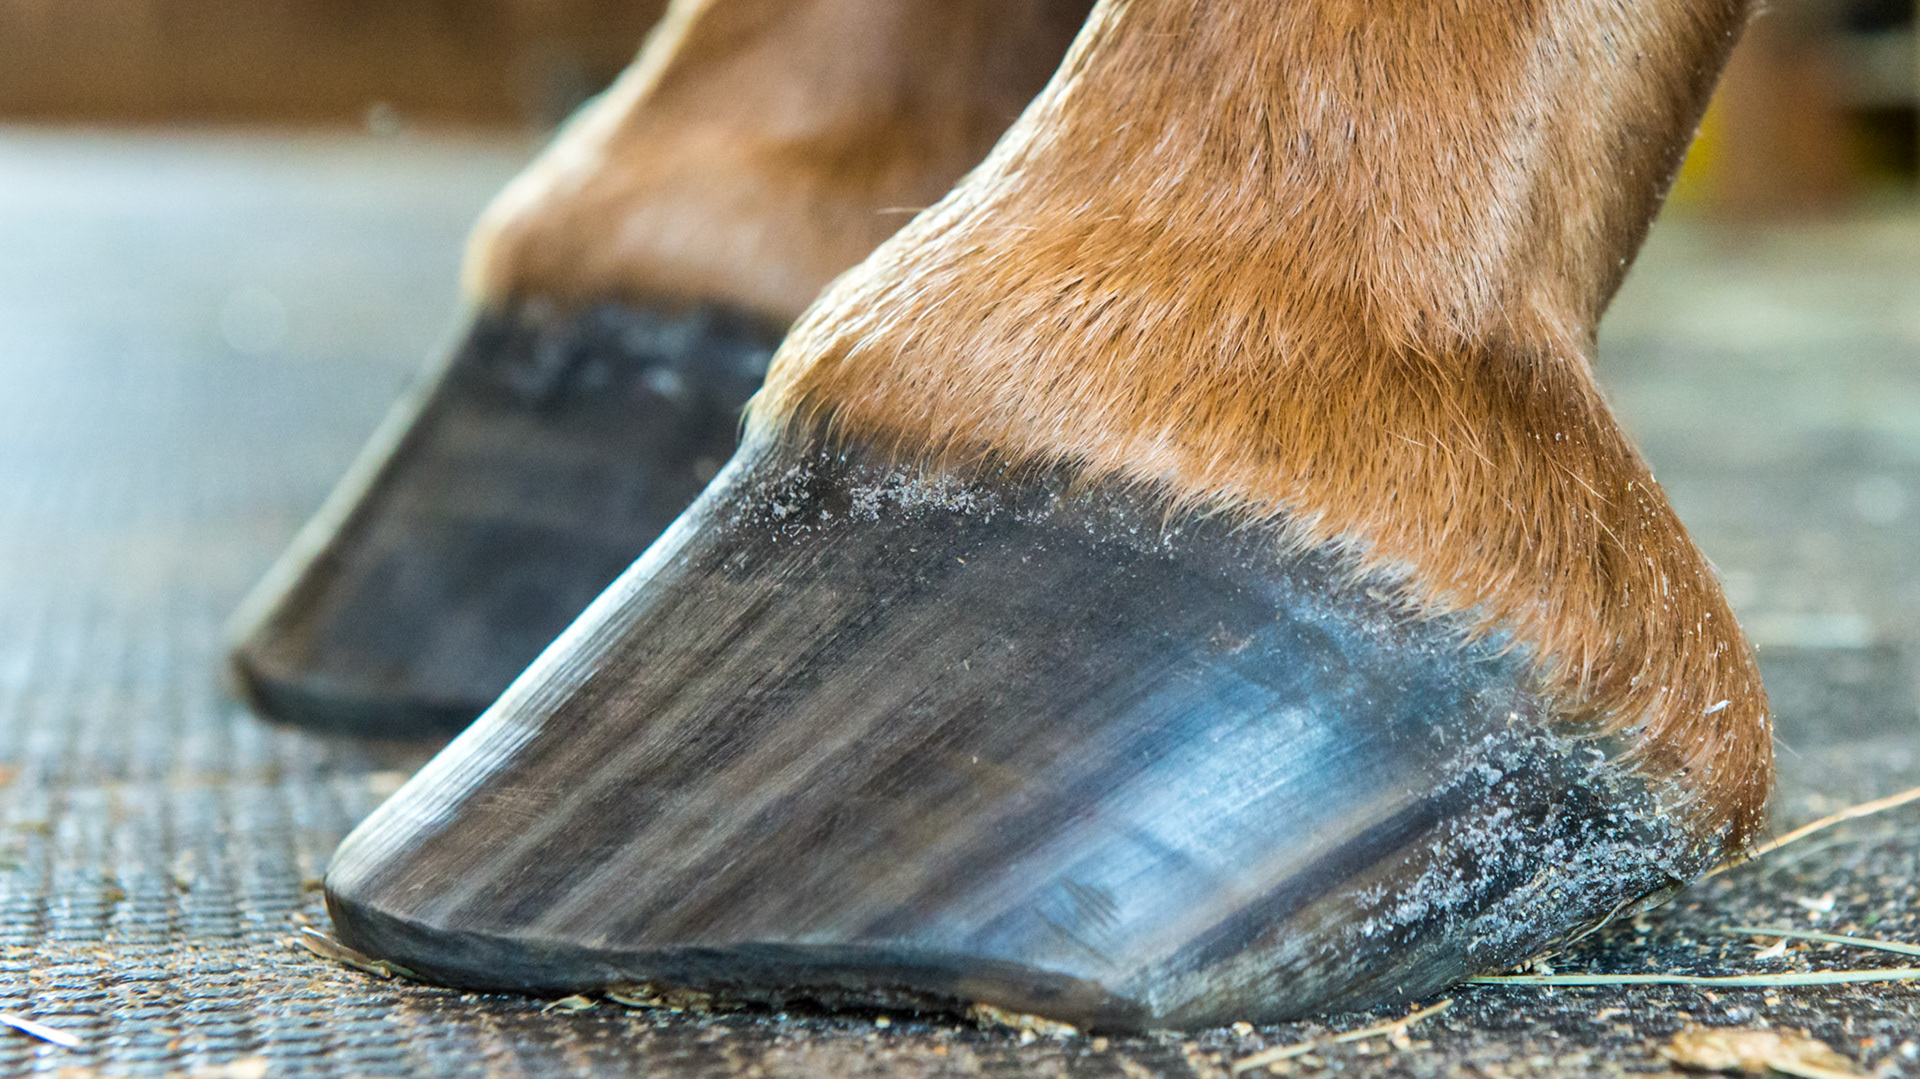
Horse A - has asymmetric hooves with multiple issues although not seen in every image. The lateral view of the RF shows that the heel is starting to come under the hoof. You can see the tubules bending and becoming non-parallel compared to the tubules towards the toe. The side wall is also seen splaying to the outside towards the camera.
Horse A - Both hooves have severely under-run heels and you can see the tubules of the heels of the LF being crushed under the weight landing heel first. While the toe remains on the ground, you can almost feel the horse leaning back placing his weight on the heels. This horse is heading for hoof pain if he isn’t there already to some degree.